Beluga Supply Co. - The Sonder Planter
/
We are long time fans of Beluga Supply Co. If you’ve been around here for a while, you probably remember us selling their amazing Classic Corner 45 Planter in our shop. We quickly fell in love with their striking yet minimal design.

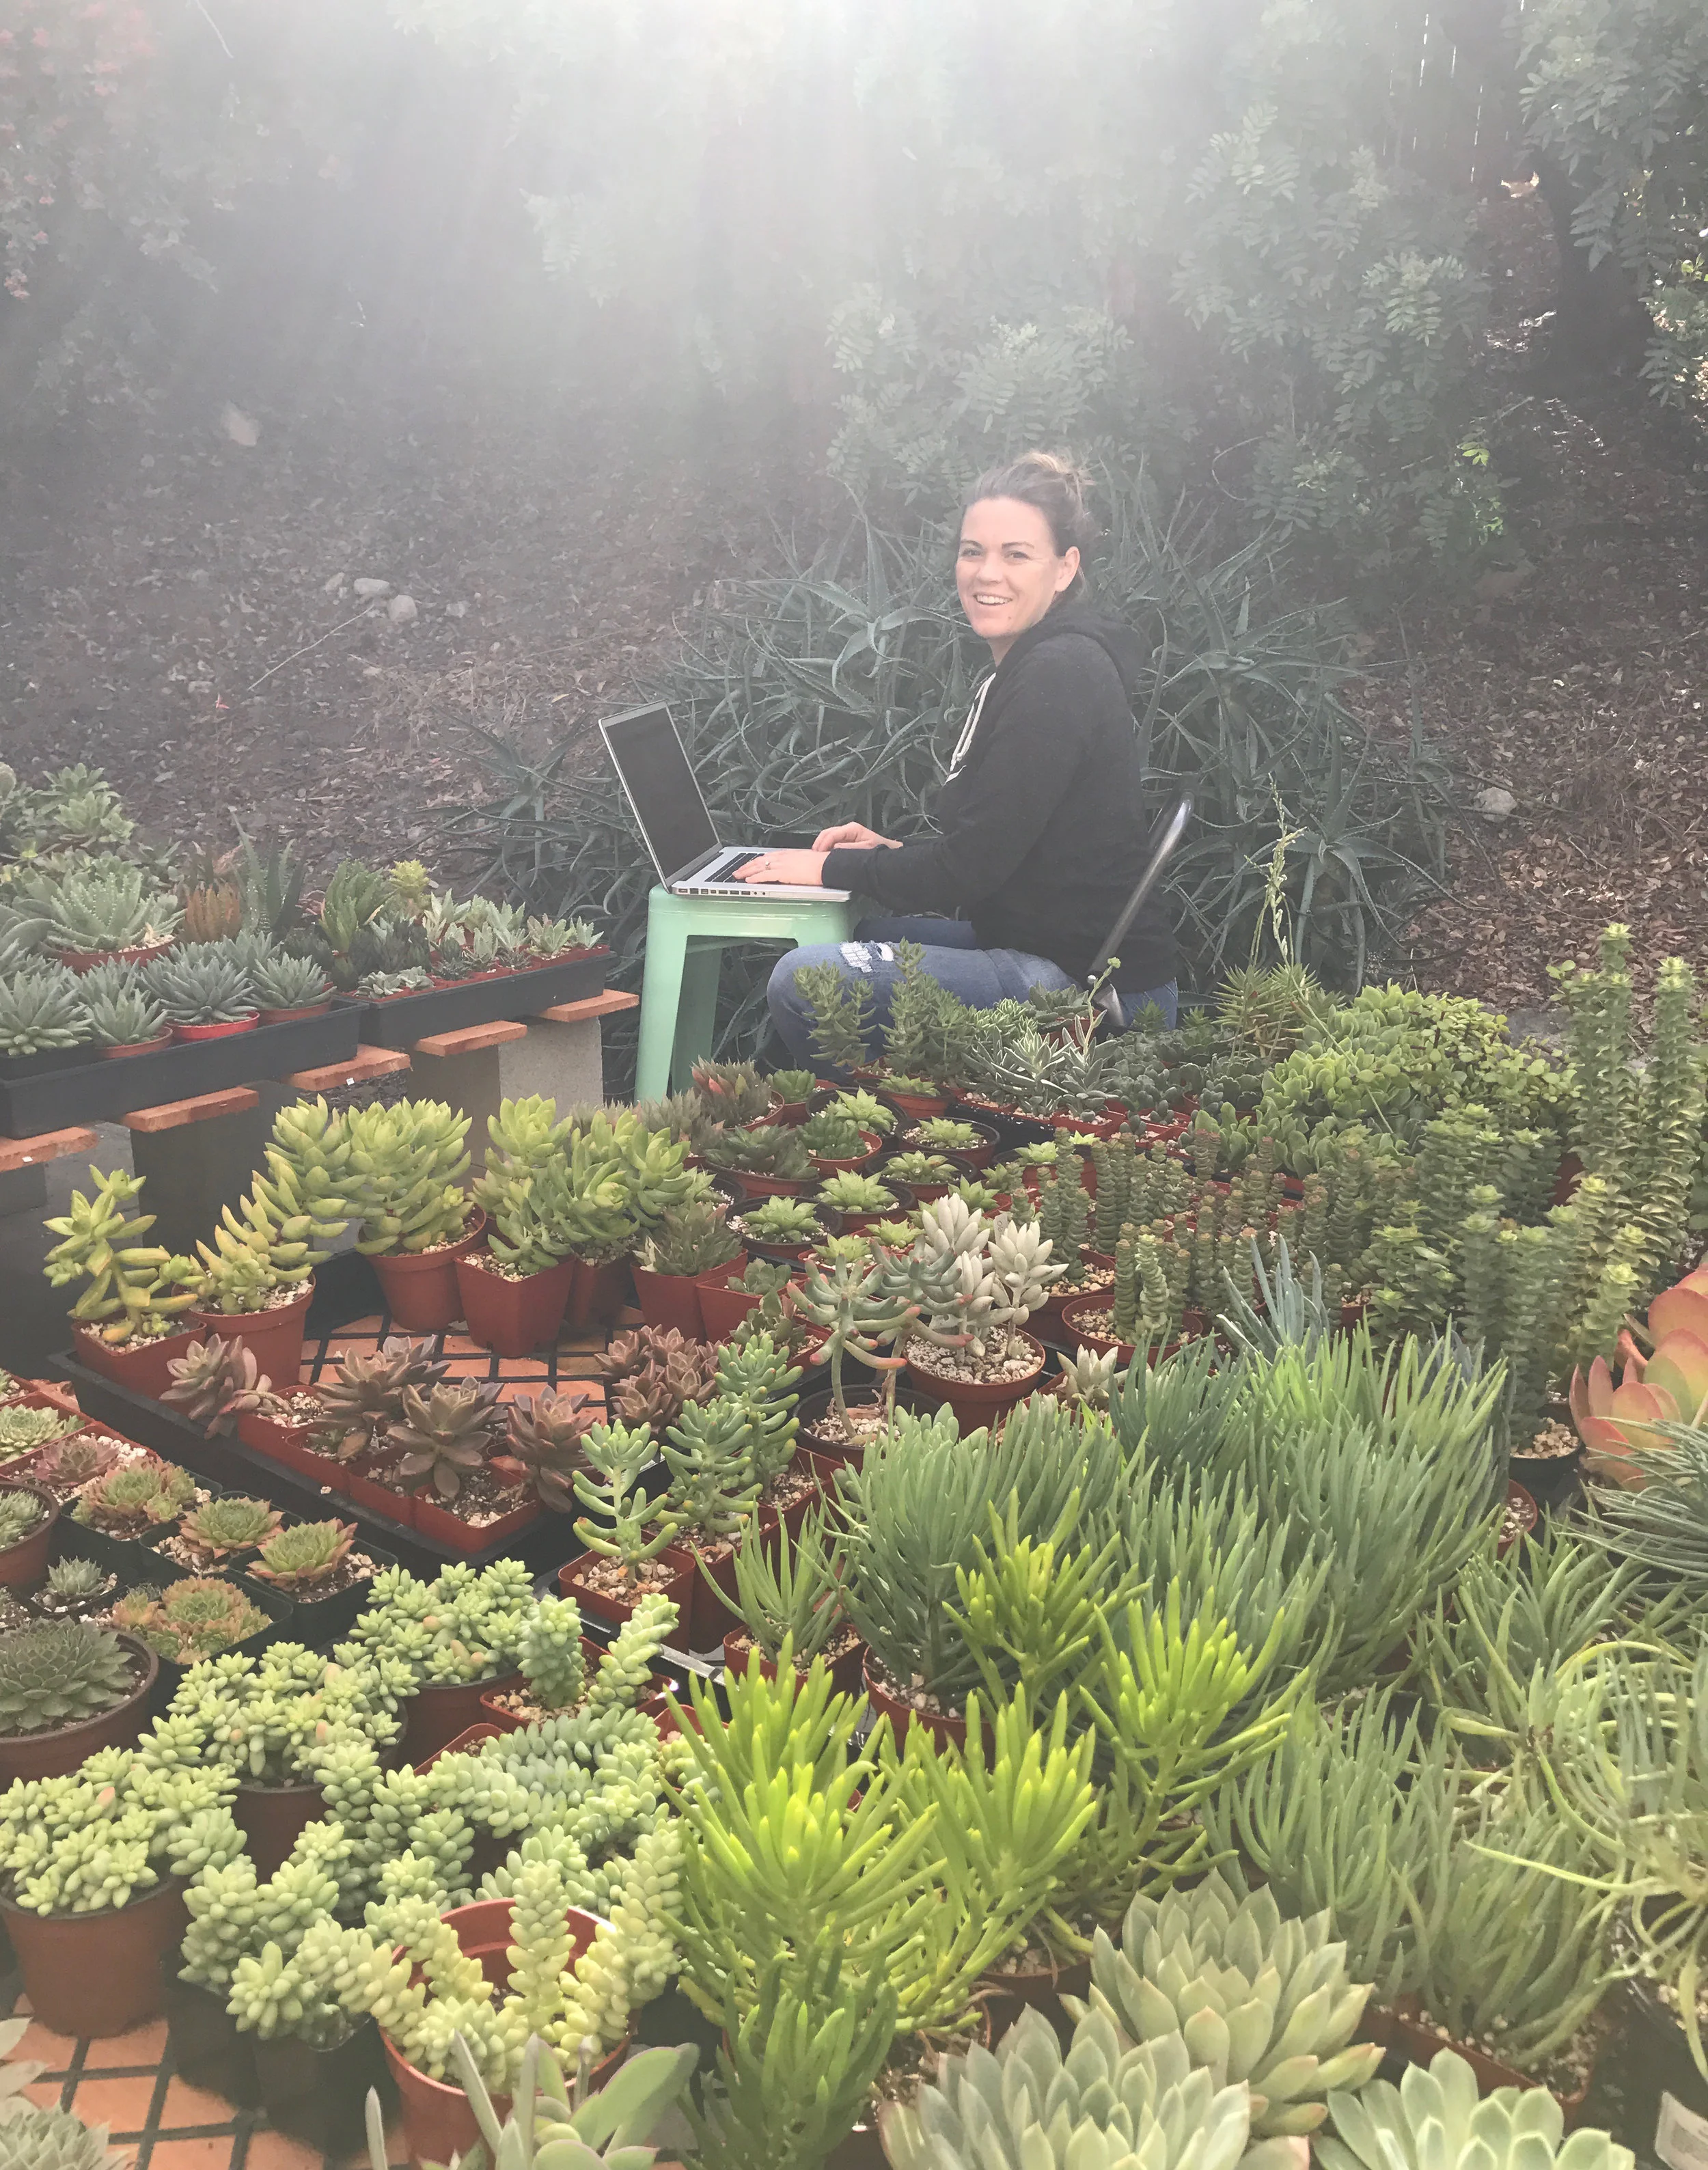
Image via Beluga Supply on Instagram
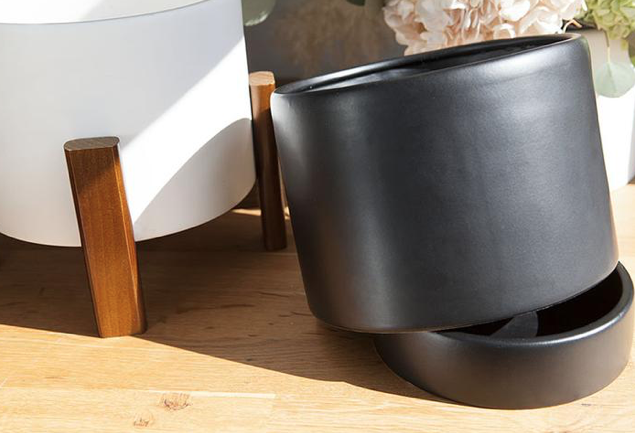
More recently, Beluga has begun offering a larger more versatile planter that we had to get our hands on. The Sonder Planter comes in two colors: Fossil White and Galaxy Black. Like the Classic Corner Planter, the Sonder Planter has drainage holes, a hidden drip tray and self-watering capabilities. As an added bonus, it also comes with a stylish wooden plant stand that is reversible to suit your preference or add height. (Or forget the stand altogether!)
The clean mid-century design is eye catching, but the hidden drip tray is what we really love most about this planter. If you’re like us and are constantly dealing with water leaking out of your pots onto furniture, shelves, and the floor of your home, you’ll love this planter. Plastic drip trays do the job okay, but they usually hang out under your pots, are visible and not the most attractive.
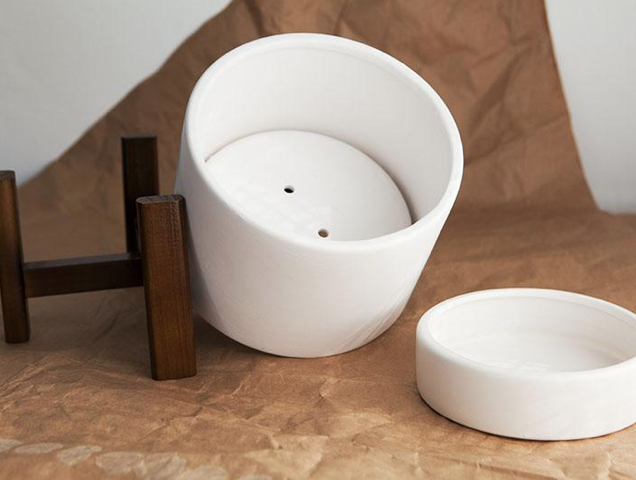
With The Sonder Planter’s two drainage holes, your plants won’t be sitting in excess water long. This is a major plus for us succulent lovers. We can’t count how many times we’ve come across a pot that we loved, only to discover it had no drainage. (Though we have been known to bust out the concrete drill and add our own drainage, this isn’t always doable!)

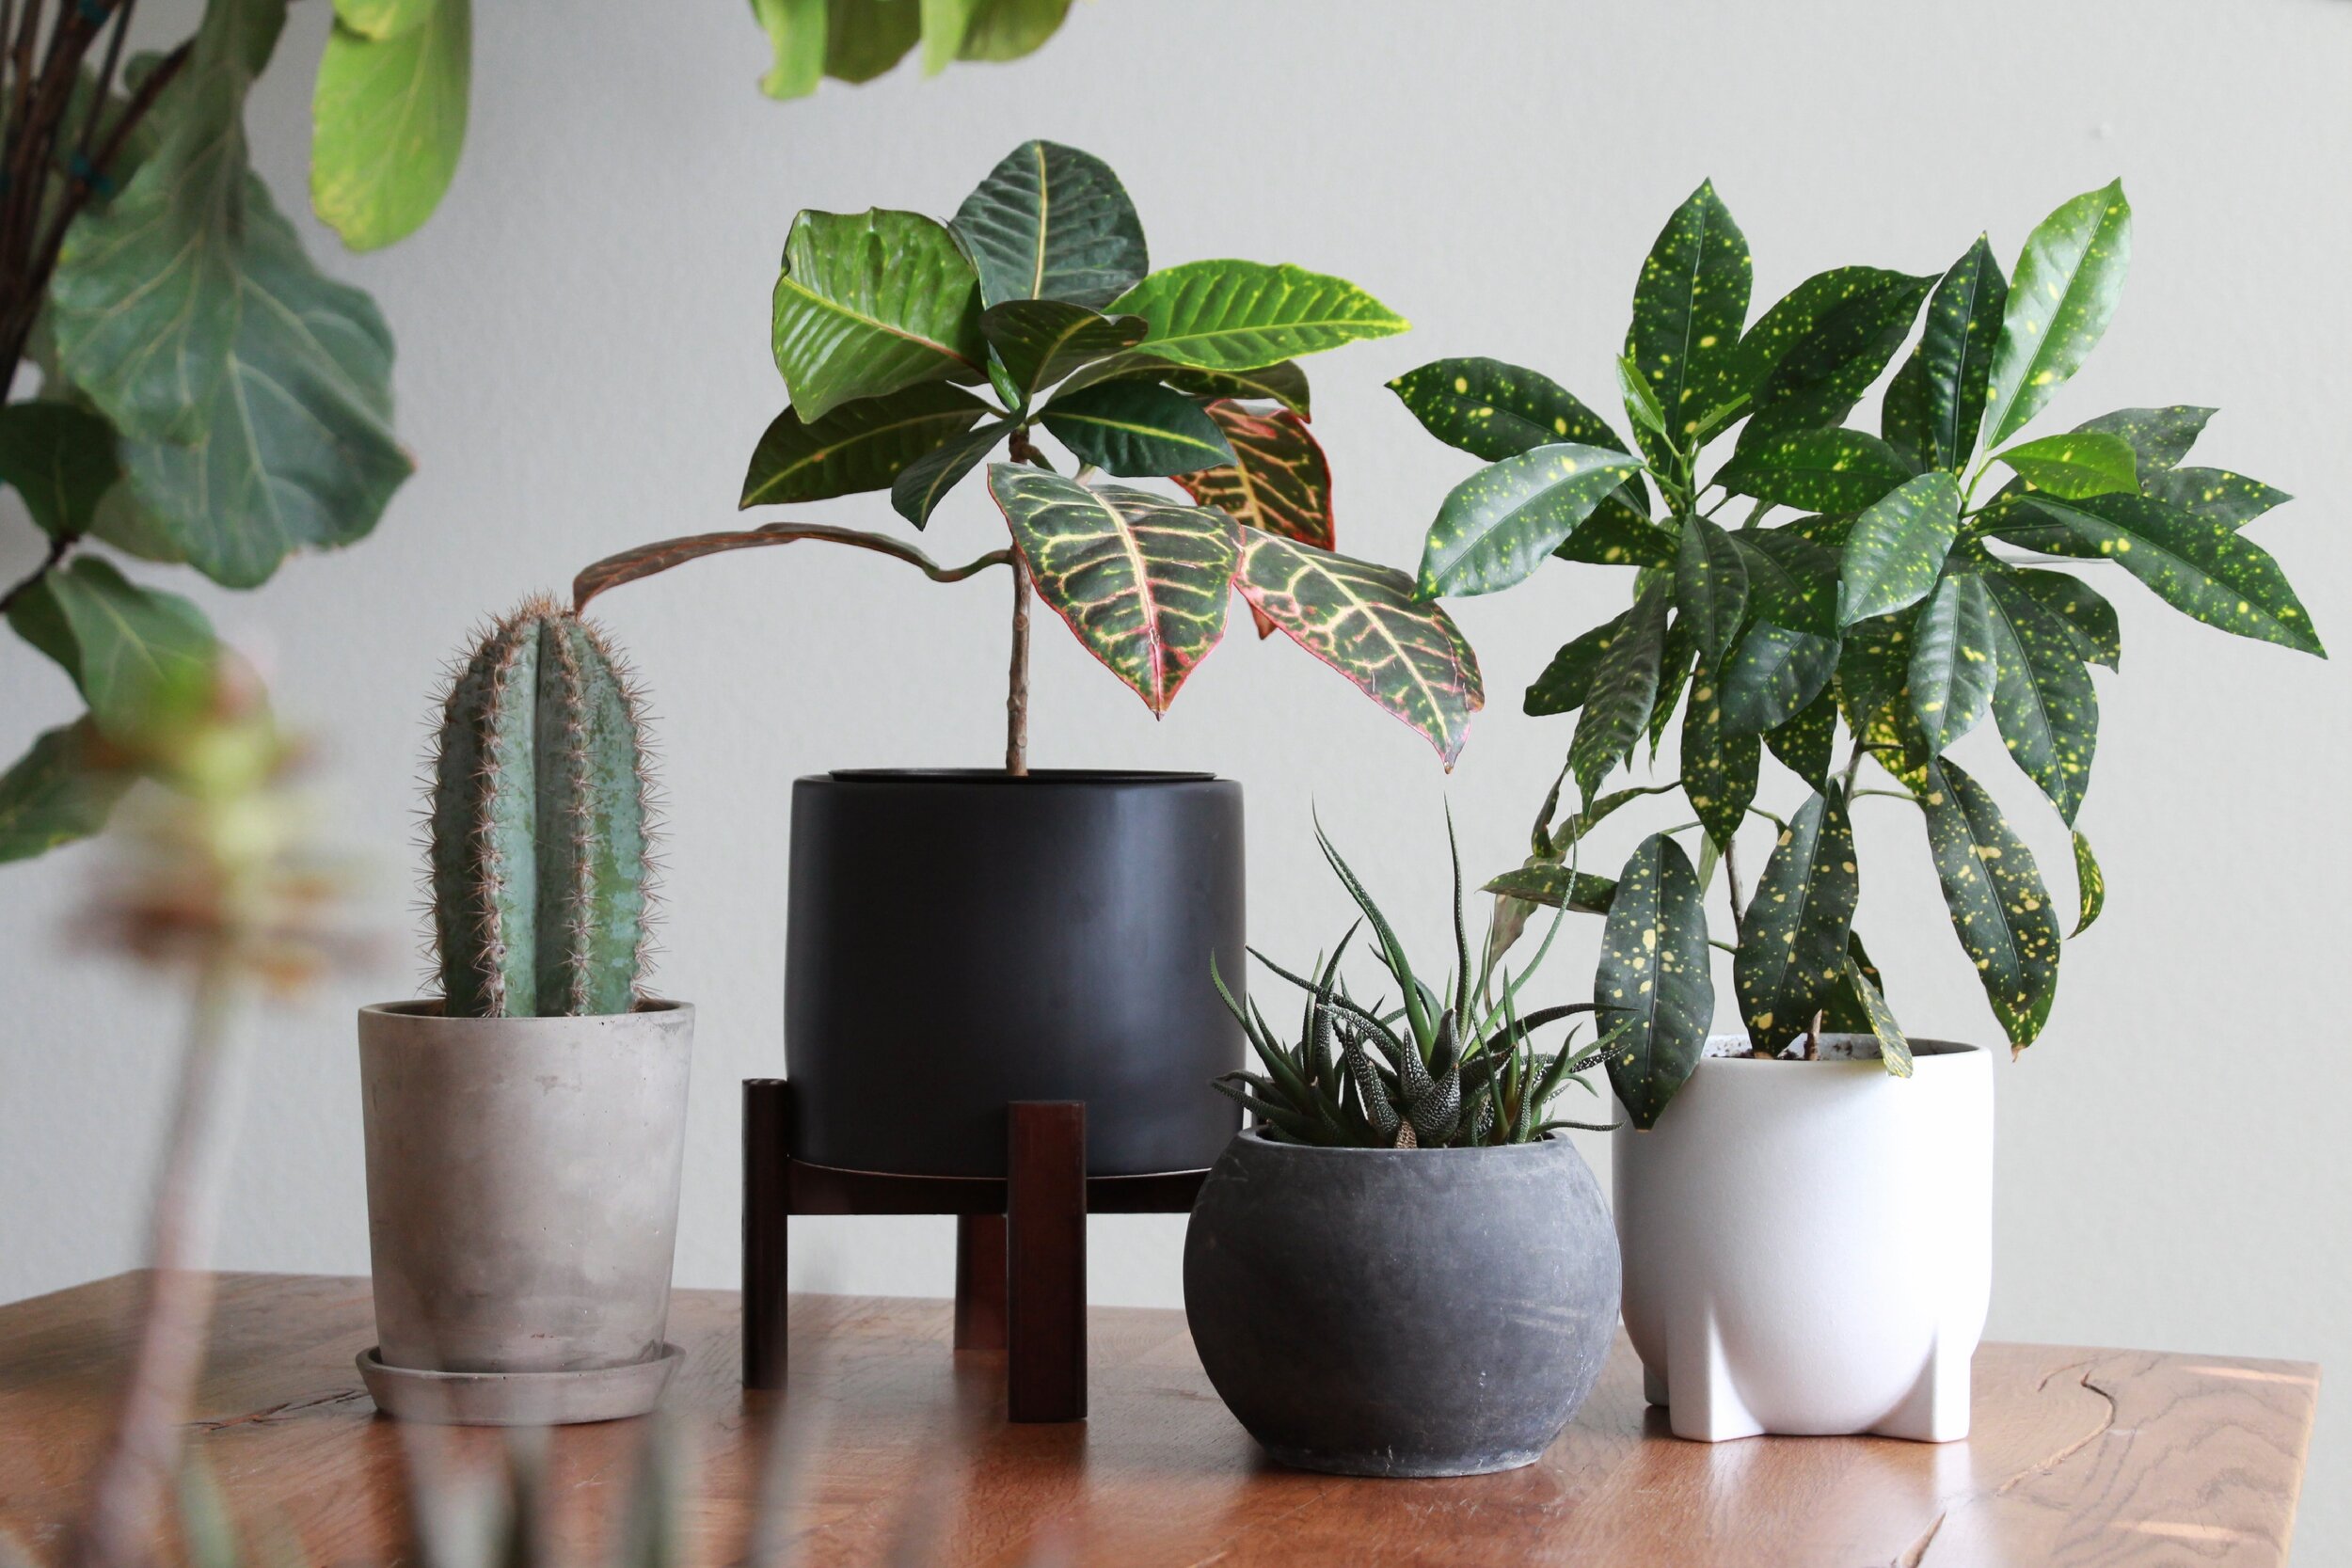
The two different color options make The Sonder Planter suitable for any space. Even if your style isn’t necessarily modern, this planter can fit in with all different styles of home decor. The size is perfect for tabletops, shelves or large windowsills.
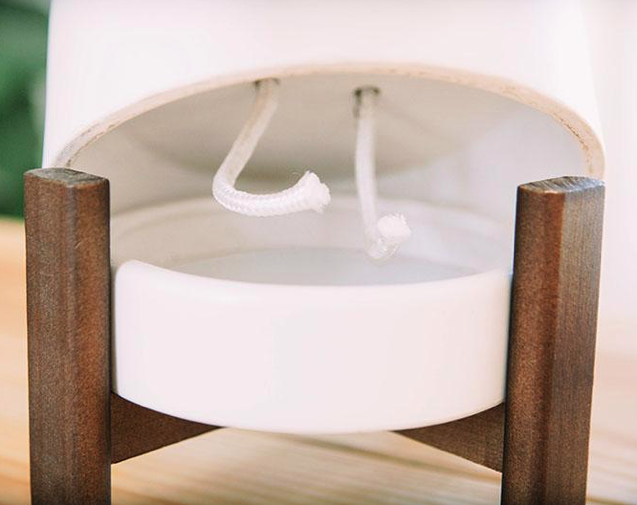
We highly recommend The Sonder Planter to all plants lovers. In addition to its appealing minimal design, the convenience of its hidden drip tray and self watering wick make it a must have!
Check out Beluga Supply Co. online or on Instagram @BelugaSupply