How to Save your Succulents from Mealybugs

Notice the deformed leaves on this mealy bug infested Graptoveria 'Opalina'

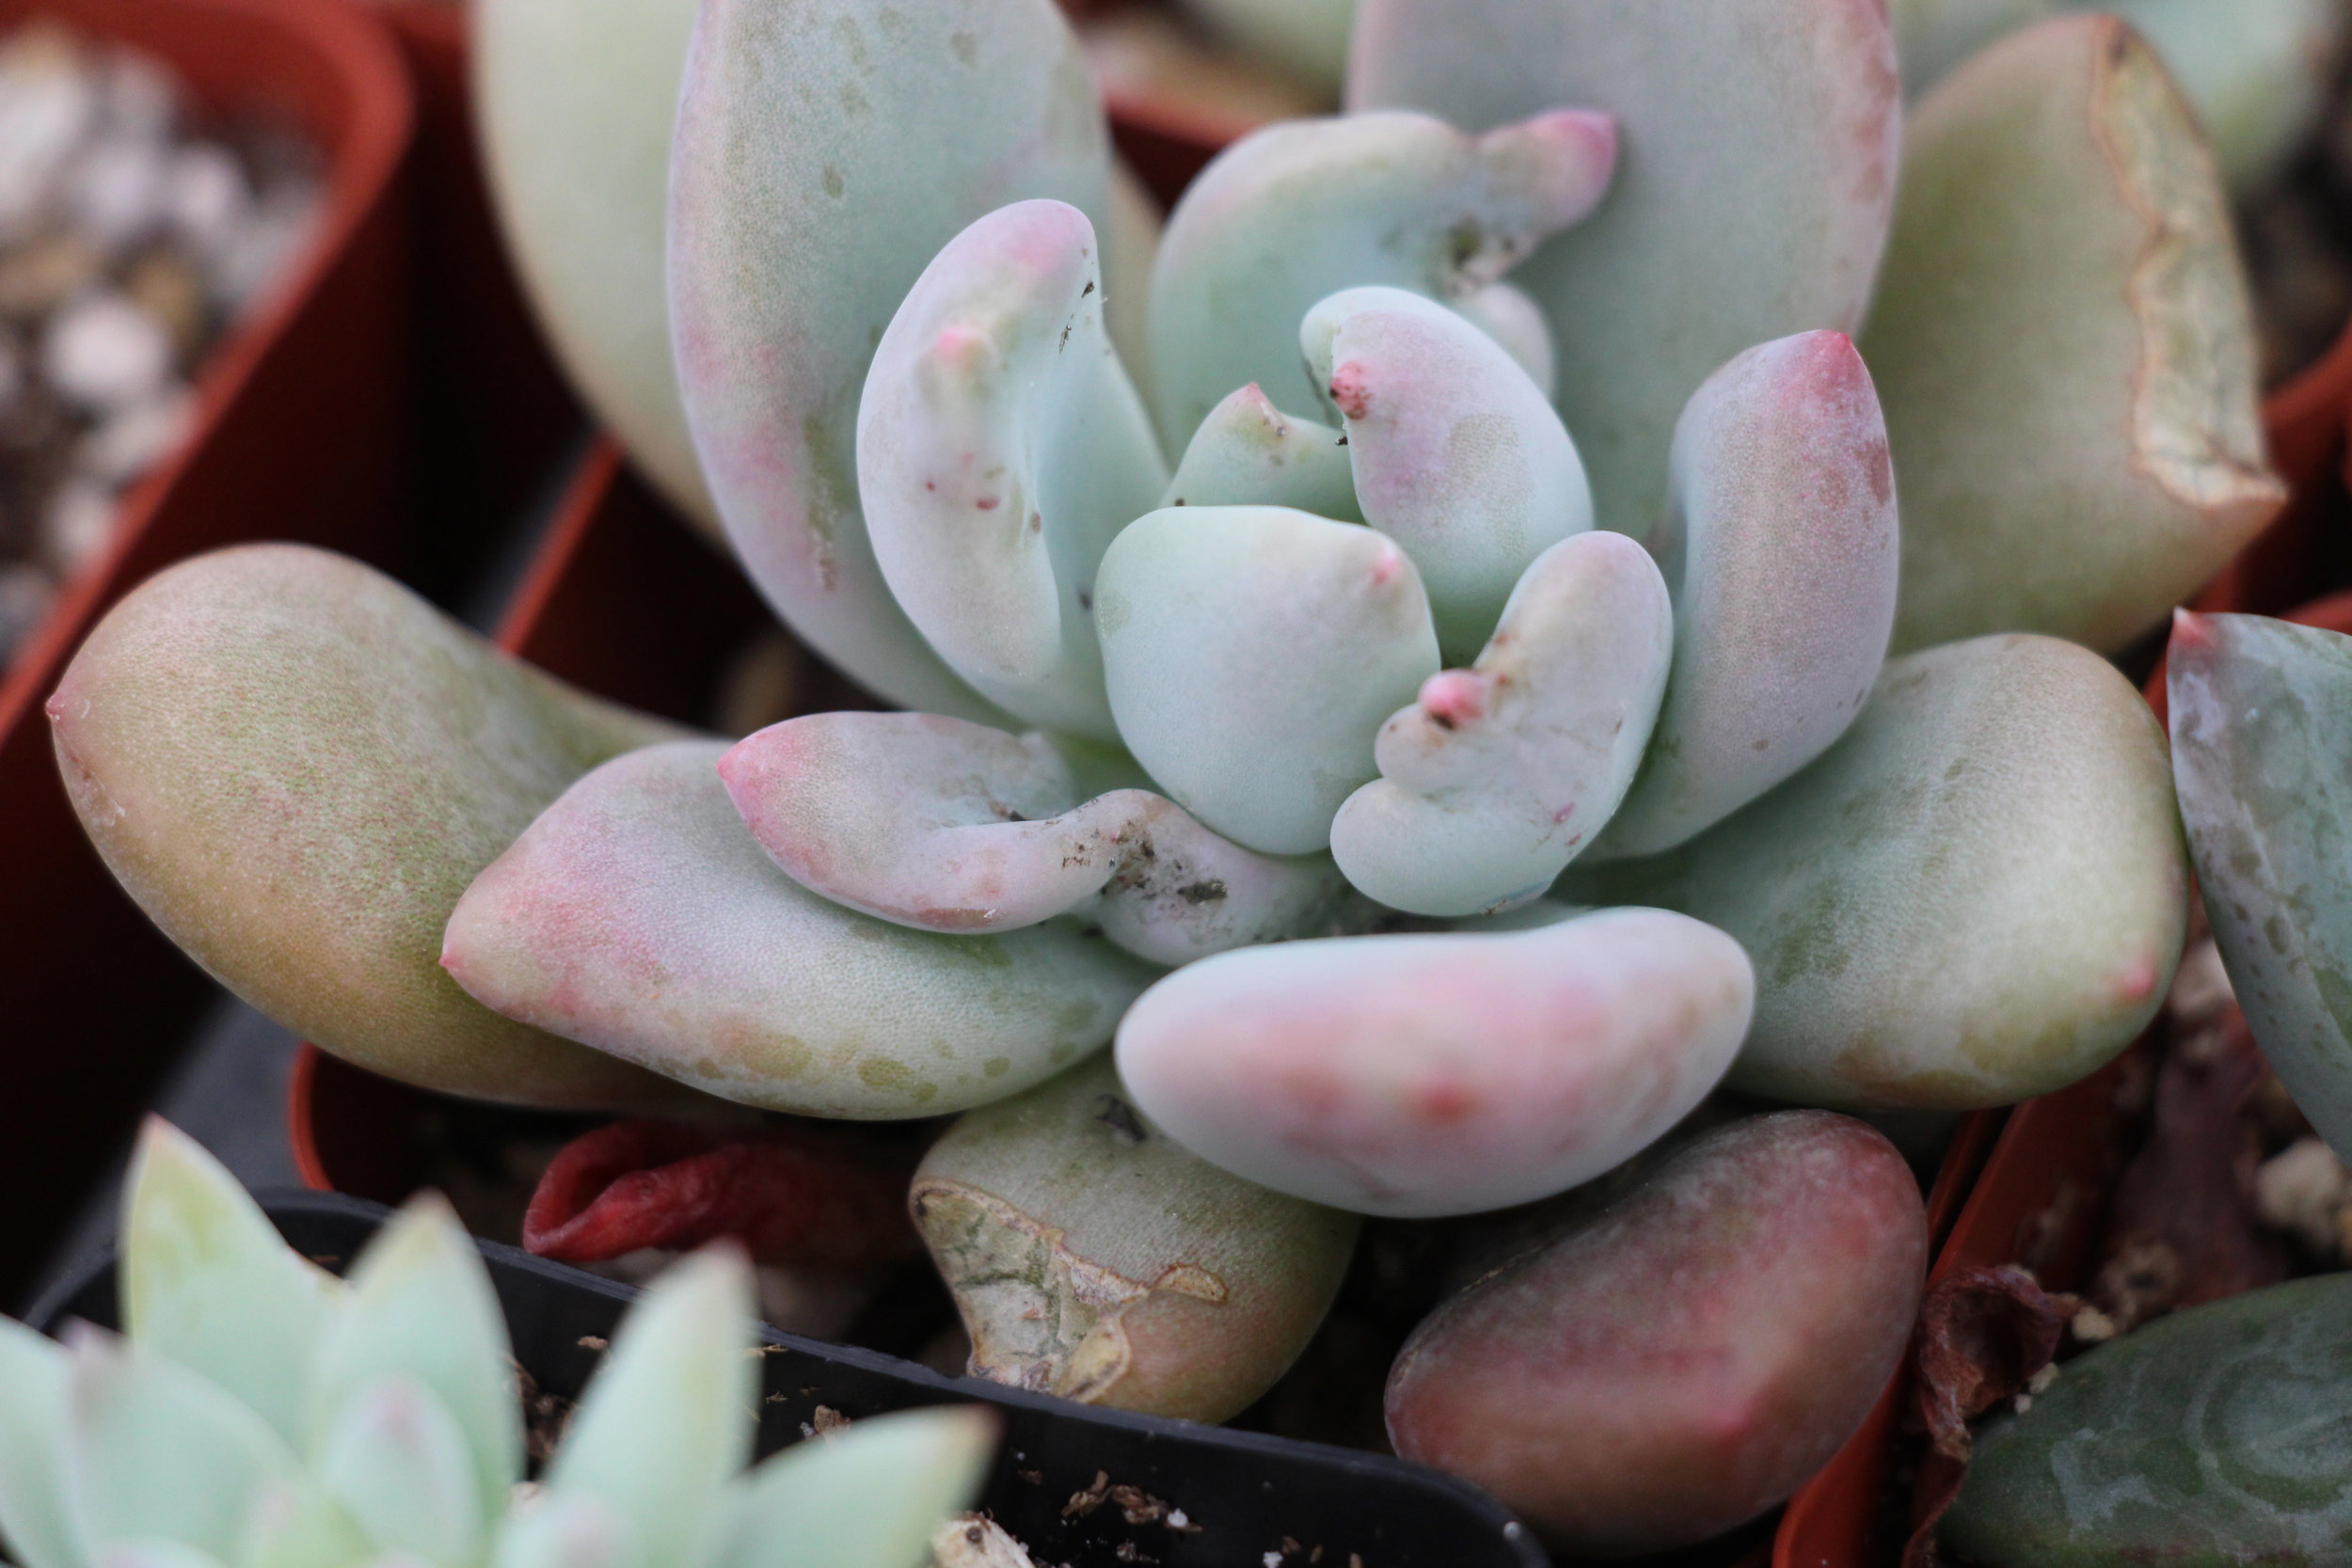
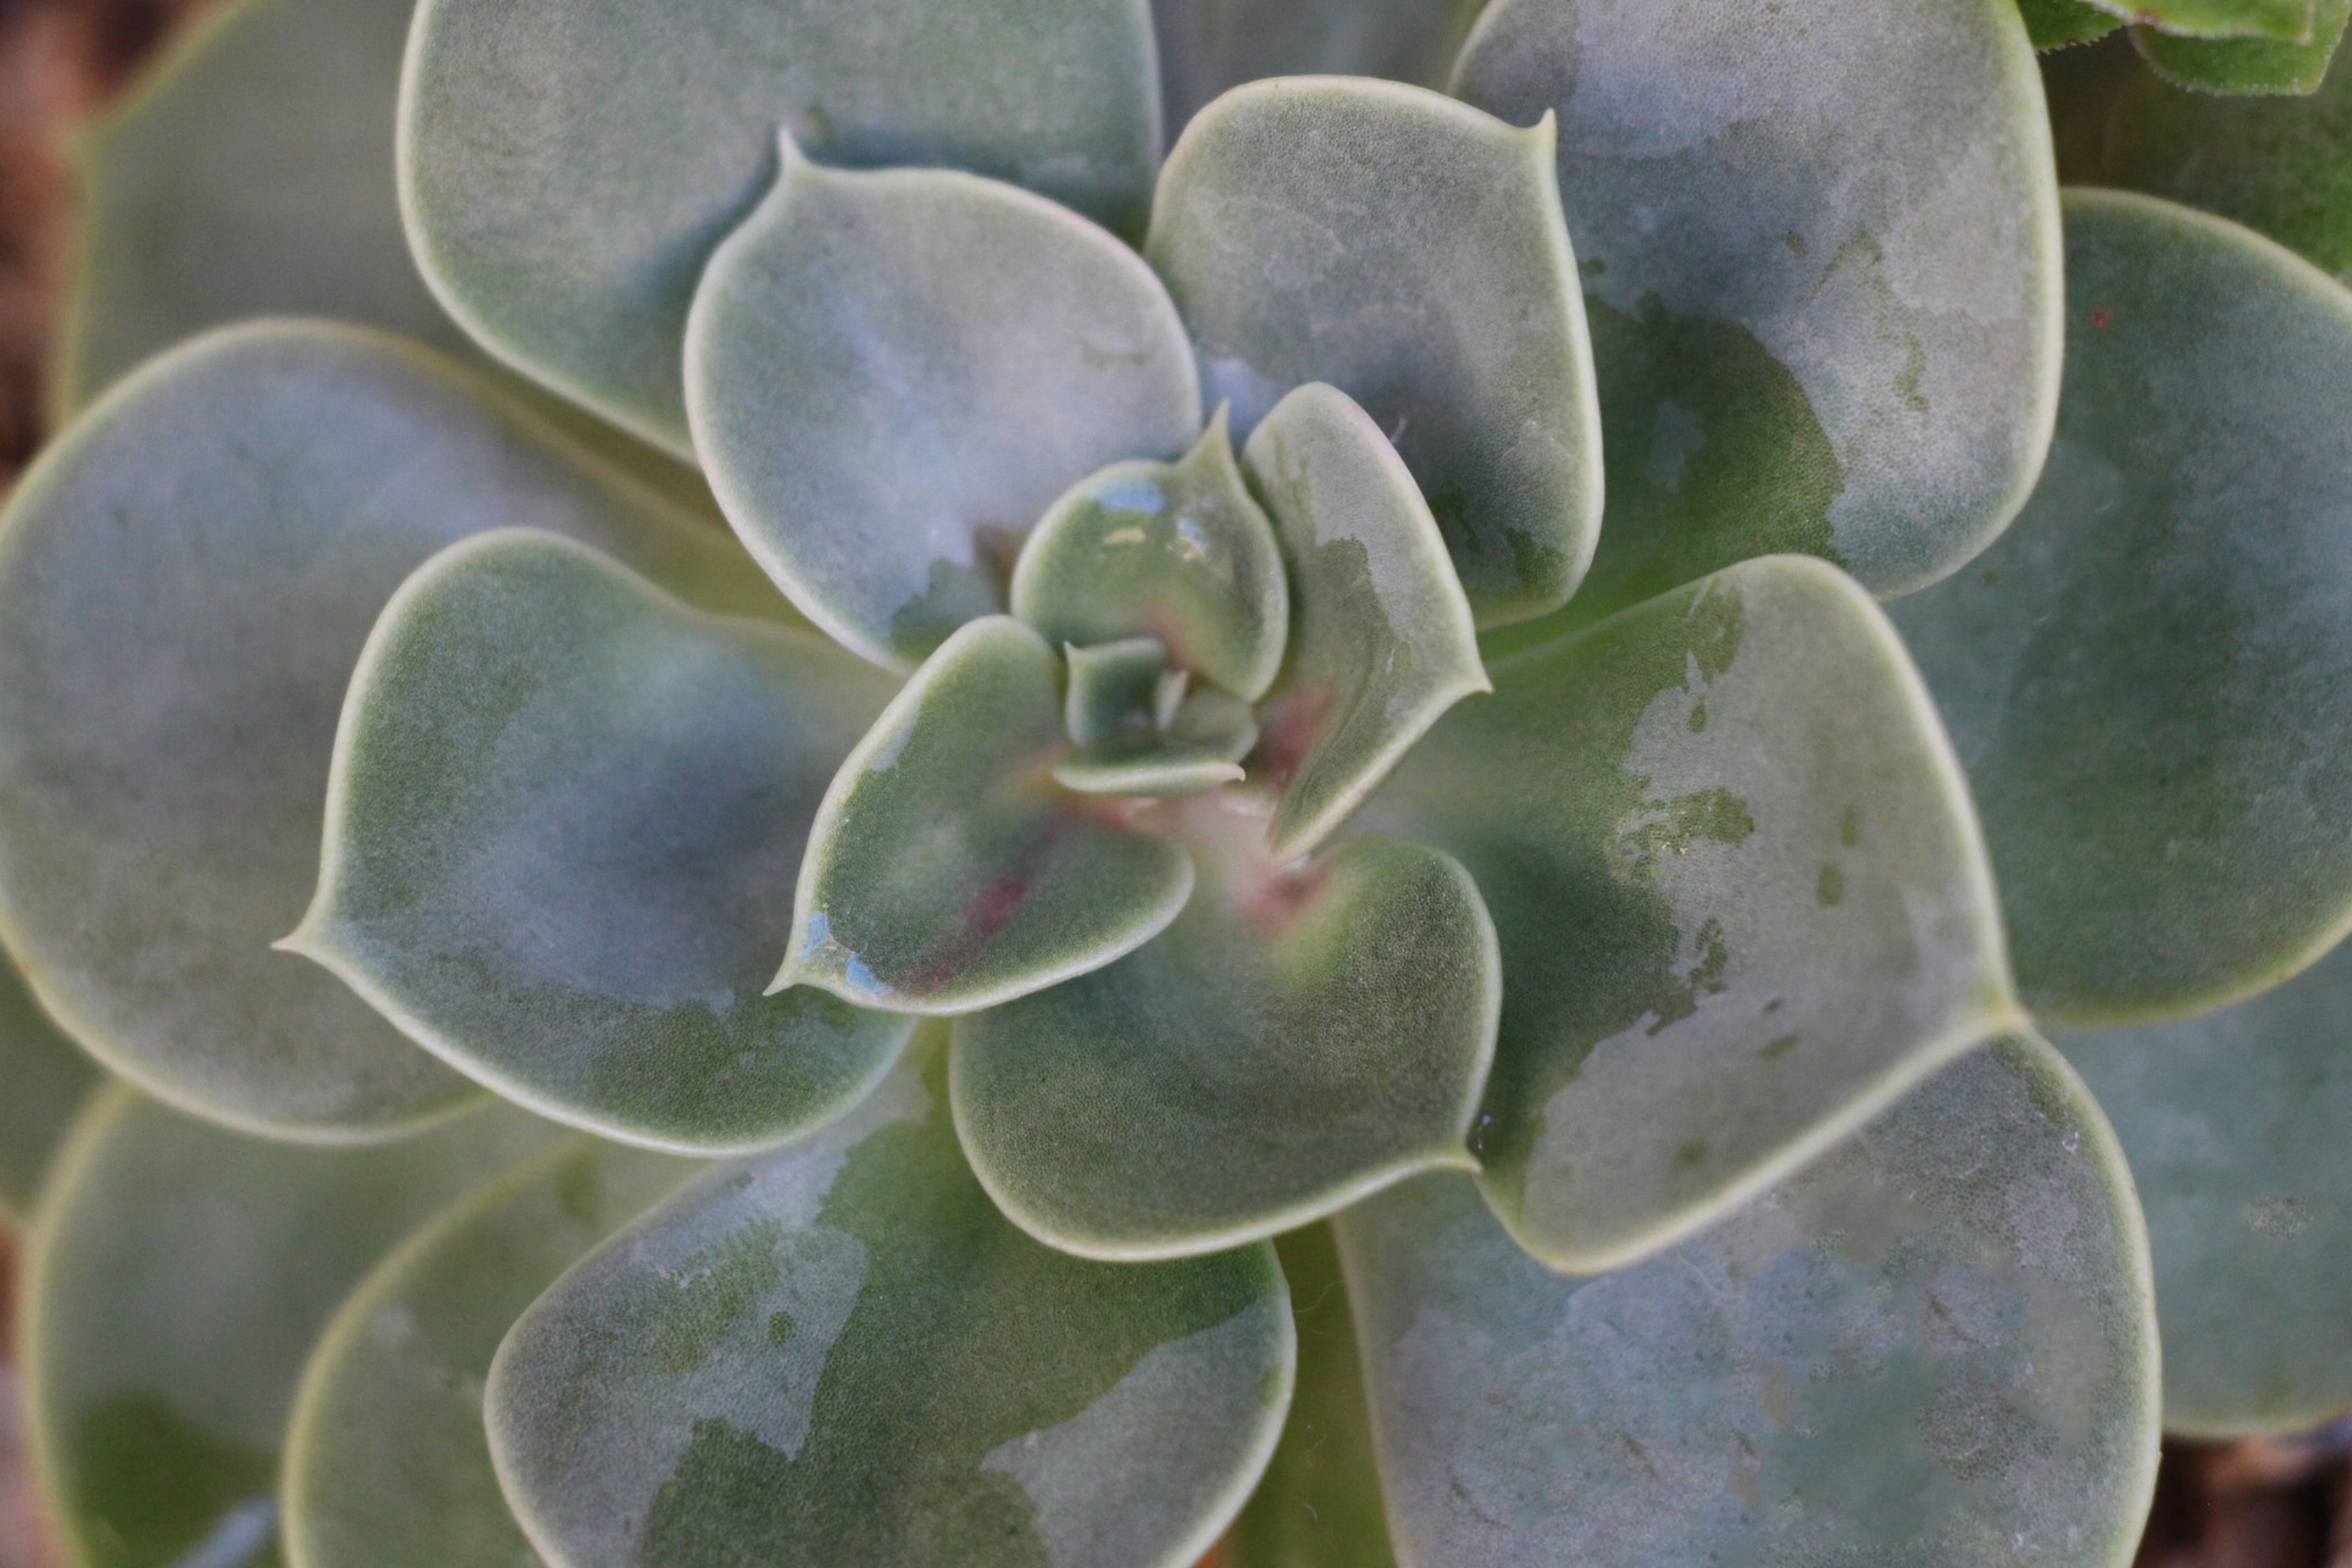
Let's talk about every succulent lovers nemesis, the Mealybug. We hate them. We despise them. We loathe them. Get the picture? They are the absolute worst. They can come out of nowhere and destroy beautiful succulents in the blink of an eye! Mealybugs usually look like a white cottony substance that can be found close to the new growth on your succulent. They will be on the stem, at the base of leaves or right in the middle of your plant on rosette types. Mealybugs sneak up on you, so it's good to check your plants from time to time, even if there are no visible signs of them. Most of the time, before you even notice the actual bugs themselves, you will see your leaves beginning to grow misshapen and deformed. This happens when you have pests hanging out near your new growth. 

Aeonium tabuliforme

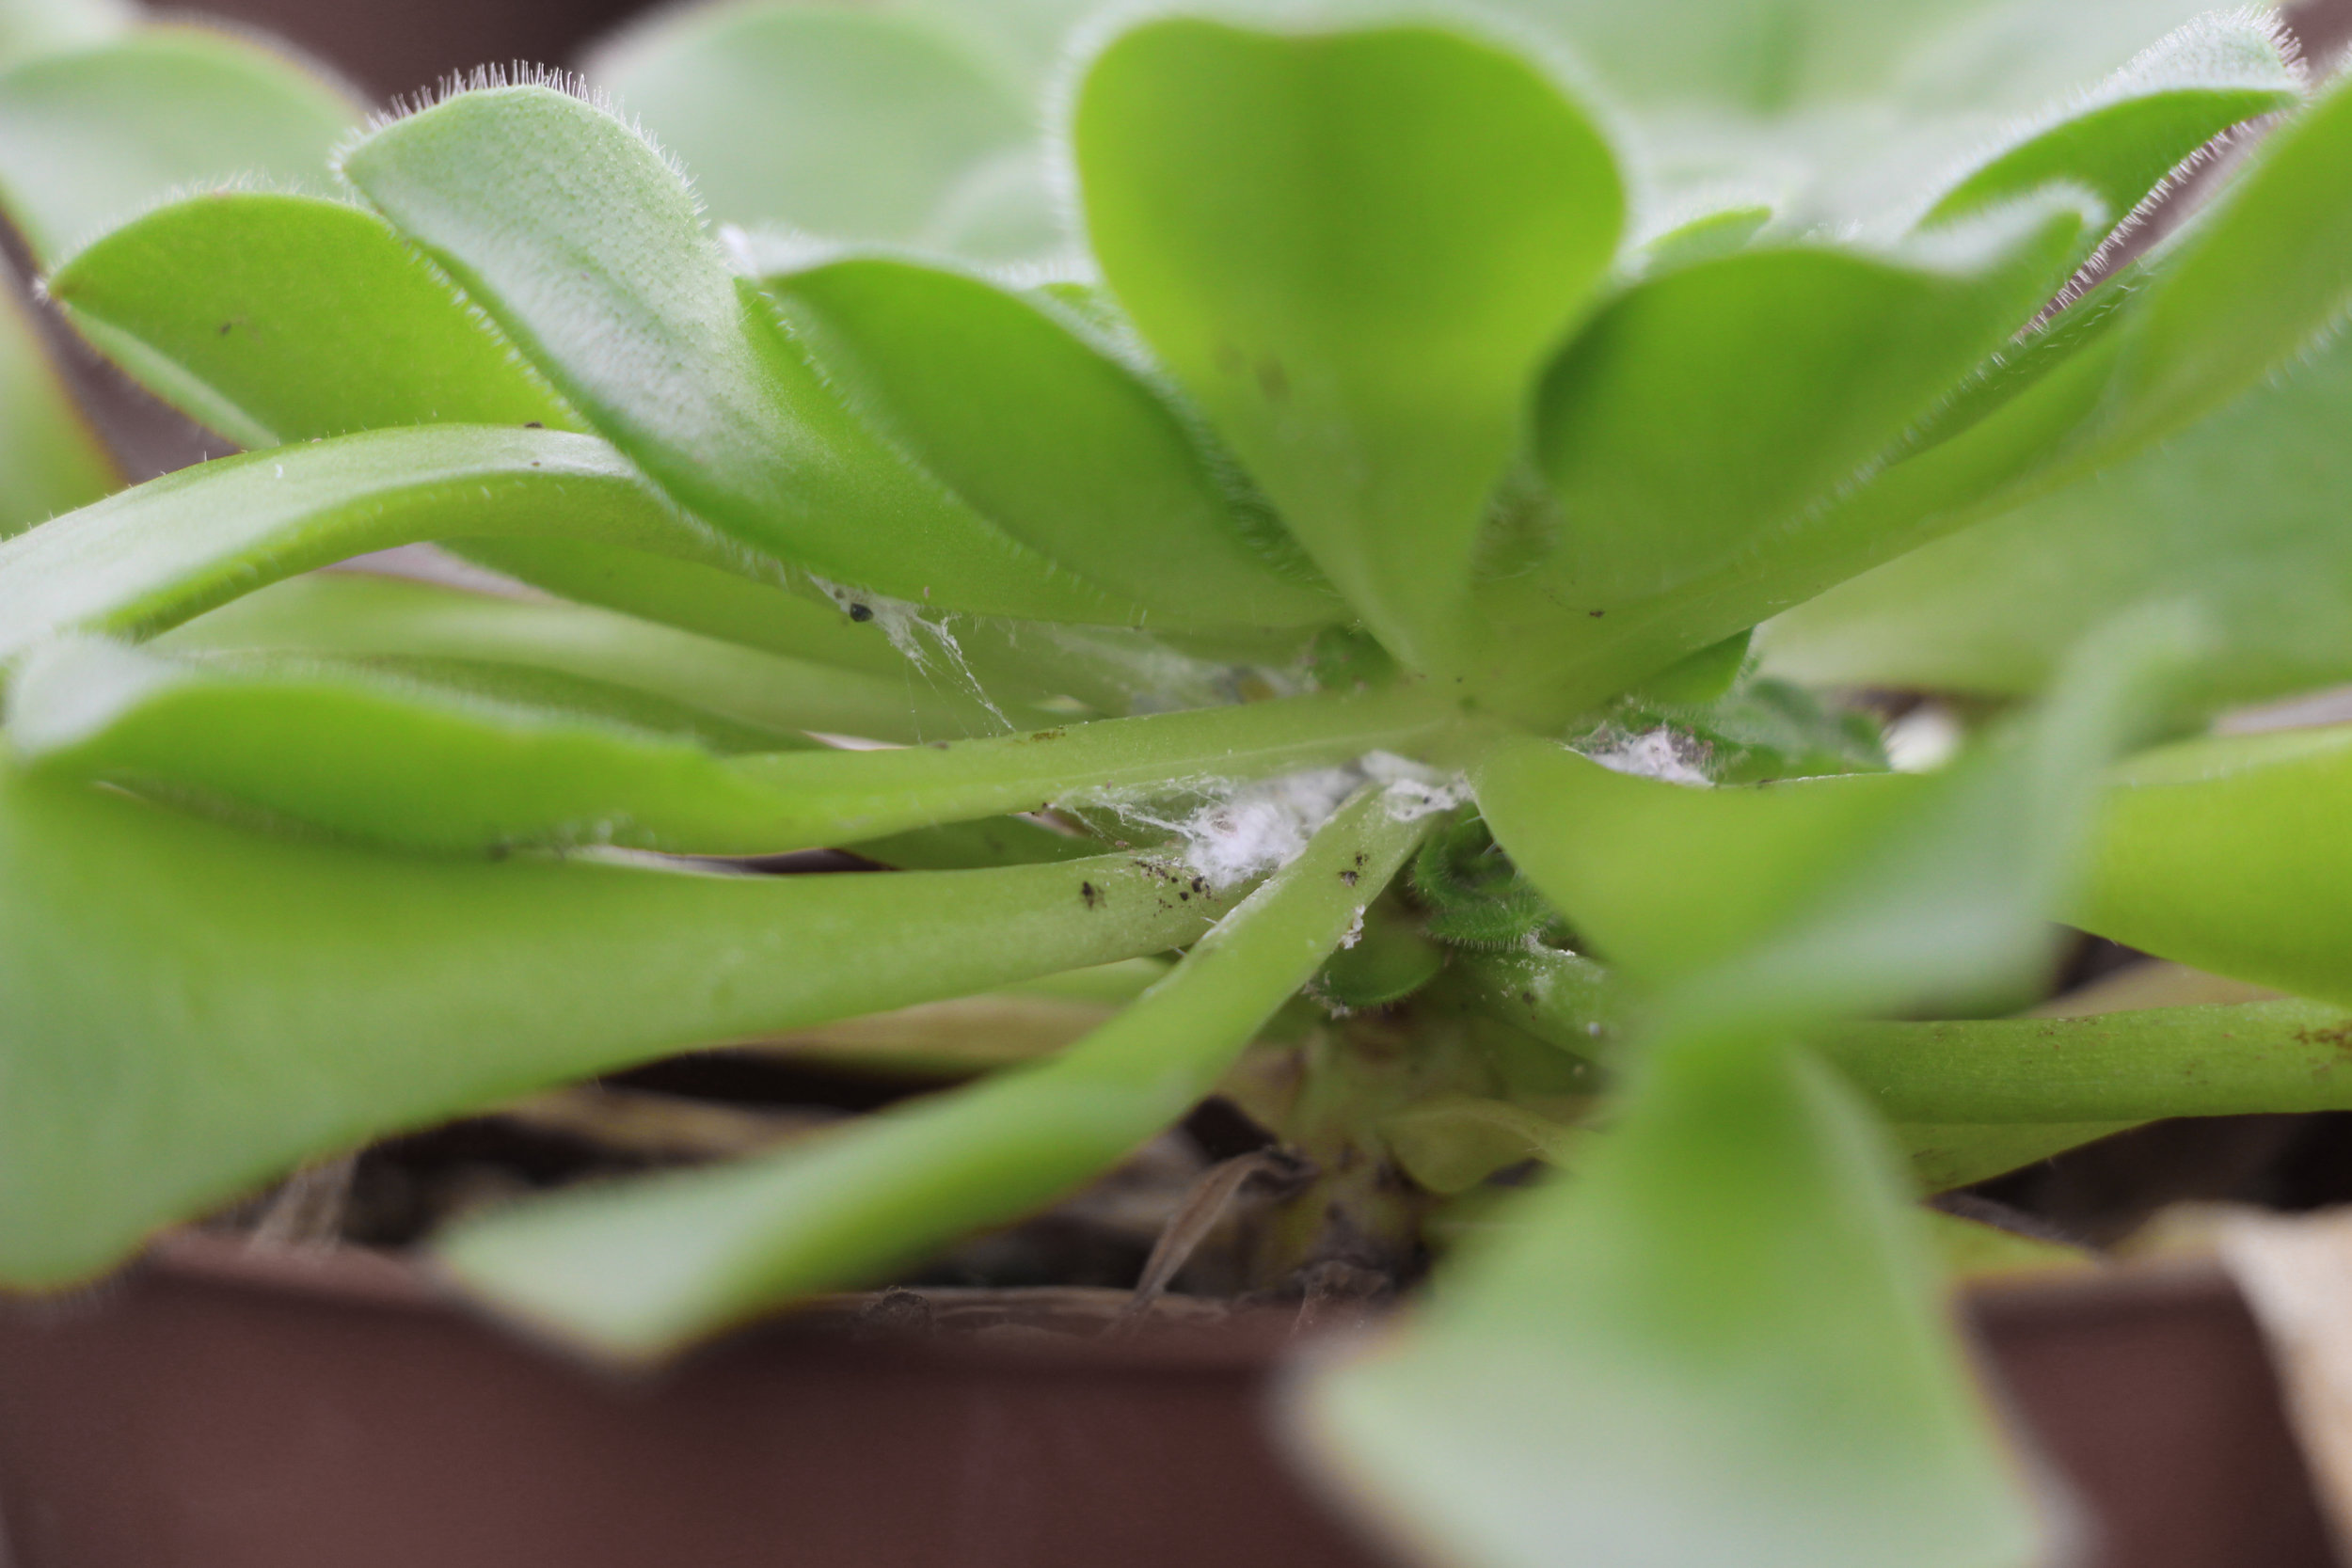
Sometimes, it can be harder to spot Mealybugs if you don't carefully inspect the entire plant. On a plant like this Aeonium tabuliforme, the leaves grow so close together even mealys can't squeeze their way in between them.  Instead of having a noticeably deformed plant, the bugs are hiding below, feasting on older leaves and new growth near the stem. This can be a dangerous breeding ground for Mealybugs, making it easier for them to go unnoticed as they spread to nearby plants.

Aeonium-tabuliforme-infested-mealy-bugs.jpg

The mealy situations mentioned above are bearable, and plants such as these will most likely recover quickly with a little assistance. Other times though, the plant can be so infested and damaged, that it's best to just KILL IT WITH FIRE! Not really, but definitely get it as far away from your other succulents as quickly as possible to avoid spreading the infestation. 

So now that we know how to spot the little buggers, what can we do about them? There are all kinds of insecticidal soaps and sprays out there, but are they safe for succulents? We've tried some and weren't super happy with the results. We've tried mixing dish soap with cooking oil and water. Once again, the plants seemed to suffer a visual marring as the beautiful coating on the leaves is permanently removed. Before opening our shop, when we had a lot less plants to care for, we would comb through our succulents and simply stab the Mealybugs with a pin. This option is very effective if you have a few large visible Mealybugs, but does not deal with tiny bugs that are too small to see, eggs, or mealys that might be hidden in the soil.

ladybugs-succulents.jpg

Let's talk about Ladybugs for a minute. Not only are they super cute and harmless to succulents, they are general predators that feed on a variety of problematic insects, including Mealybugs! This is a natural and organic remedy for taking care of your succulent's Mealybug problem. We purchased Ladybugs from Amazon and had so much fun sprinkling them all over our succulents and watching them feast on any aphids, mites and mealys they could find! The great thing about having these little warriors fight your battle for you is that you don't have to spend time examining every inch of your plants in search of pests. The Ladybugs are happy to inspect your garden for you, saving you time and saving your plants from potentially getting damaged in the process. 

Isopropyl Alcohol kills Mealybugs on succulents and evaporates quickly.

Isopropyl Alcohol kills Mealybugs on succulents and evaporates quickly.

The most effective and immediate solution we have found so far is 70% Isopropyl Alcohol. This readily available and inexpensive remedy has been a lifesaver (literally) for our plants! We keep a squirt bottle full at arms reach at all times. You simply spray your entire plant, taking special care to saturate tricky areas where tiny bugs can be hiding. The alcohol completely evaporates in a few minutes and the Mealybugs should be dead. You can visibly see the cottony substance disintegrate and the grayish white bugs turn a deep red. After the alcohol evaporates we wash our plants with a strong stream of water to remove the dead bugs. You will want to check back in a few days to make sure you got them all. If not, just reapply the alcohol as needed. 

We have used 70% Isopropyl Alcohol on almost every type of succulent with great results.  We do want to note that we have seen slight burning on our Echeveria 'Blue Sky', Graptoveria 'Debie', and Graptoveria amethorum plants. All succulents are different, so if you are unsure, test the alcohol on an inconspicuous area before covering your entire plant. For the plants we mentioned above or any others that you notice a burn after being sprayed, we recommend using 50% Isopropyl Alcohol and reapply as needed. 

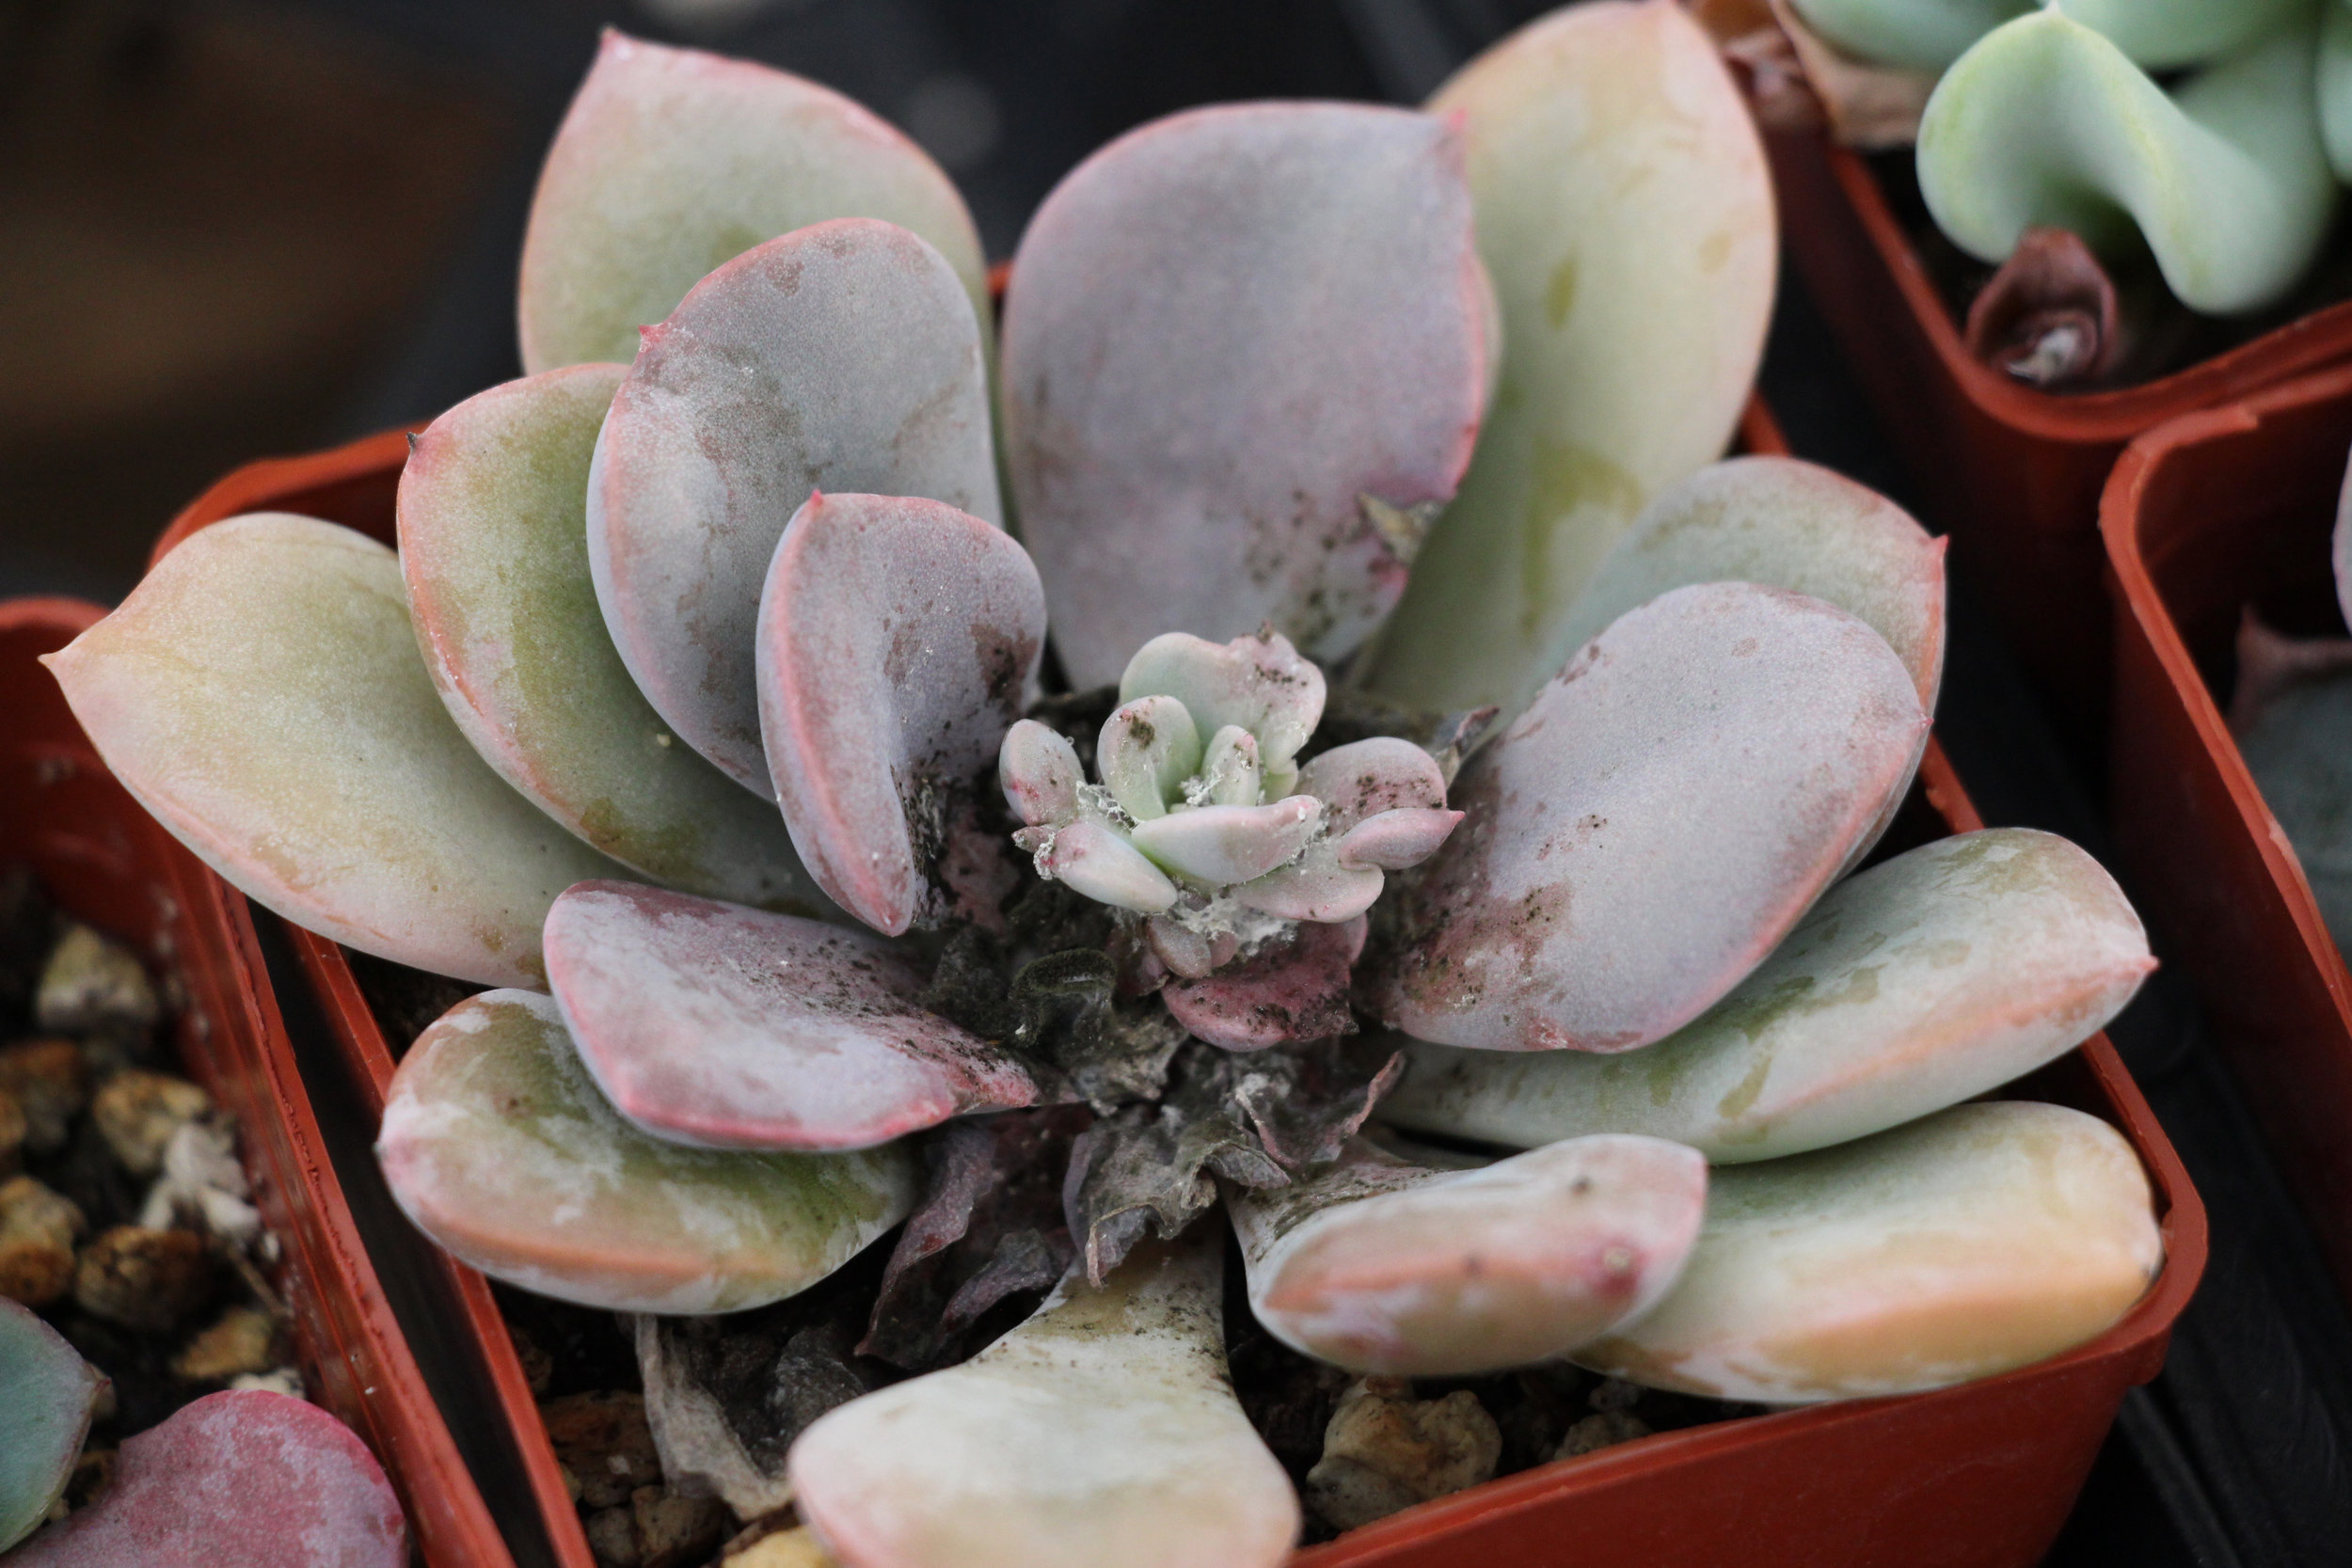
A lot of times, Mealybugs can be hard to spot without a microscope! So make sure to check new growth for deformities to catch them before they get out of hand. We noticed some oddly shaped leaves on this Echeveria subsessilis variegata, and sure enough, upon further inspection we found some Mealybugs. 

mealyzoom.jpg
closeupmealy.jpg

We hope this post has been helpful to you! Shoot us an email or leave a comment here if you have any questions and make sure to follow along with us on Instagram @needlesandleaves.

Happy Planting,

Tawni + Krista 

(This blog post contains some Amazon affiliate links. If you make a purchase through one of those links we get a small commission. We only link to products we have used, loved and think you would benefit from.)

GrowIt! Mobile App Succulent Giveaway

burritosweb.jpg

We are so excited to be teaming up with GrowIt! Mobile to bring you guys a super easy and awesome giveaway!

One Grand Prize winner will receive a $50 Lowe's gift card, a copy of our book DIY Succulents and a box of assorted premium succulents, hand picked by us! Two additional winners will receive $25 Lowe's gift cards and our book! Keep reading for giveaway details ↓

GrowIt! is a gardening app that lets you "garden socially" for free! We were a little skeptical about joining another social network, but GrowIt! is so much more than just a place to share plant photos!

Use GrowIt! to gather information about specific plants such as basic care, watering and soil needs, hardiness zones and more! You can organize plants into projects and create shopping lists before heading out to the garden center! One of my favorite parts about this app is the "Help Identify This Plant" feature!

Ultimately, GrowIt! mobile is a place to share and gain plant knowledge, something we are really passionate about!

growit-mobile-app-garden-socially-needlesandleaves_net.jpg

Here is how to enter the giveaway:

❶ Download the GrowIt! app
❷ Post a plant picture on the app
❸ Include the hashtag #needlesandleaves in the comment section of your plant photo!

(Giveaway ends January 24th, 2017. Open to US and Canada only.)

DIY Living Christmas Wreath with Succulents

DIY Living Christmas Wreath with Succulents via Needles + Leaves

It's the most wonderful time of the year! Christmas Time! As a crafter at heart, I just can't help but create projects out of all the festive scraps lying around the house during the holidays.  After setting up our Christmas tree this year, we had a bunch of fir trimming left over from the bottom section of the tree. My first thought was, "Perfect! I can make a wreath!" Naturally, I wanted to incorporate succulents for a little something extra! Here is a quick tutorial for you, so you can make a wreath out of your tree trimmings too! 

Supplies: 

Metal Wreath Frame

Sphagnum Moss

Twine/Jute

Floral Pins

Christmas Tree Trimmings

A Few of Your Favorite Succulents 

Supplies needed for DIY Living Christmas Wreath with Succulents

We decided to make a sphagnum moss wreath frame to create a living wreath, as opposed to just wiring our fir timings and succulents to a metal frame. Succulents can root and even thrive in sphagnum moss alone, and we figured if a cut Christmas tree can last for a month or two in a bowl of water, trimming should last just as long (possibly longer) in moist moss.  

First, soak your sphagnum moss in a large bowl of water. Begin adding your moss to your wreath frame, squeezing out any excess water as you go.  As you work your way around the wreath frame, press the moss together as if you are creating a loaf. Once the entire wreath frame is covered with moss, tie the end of the jute twine to the back of the frame and wrap the moss with the twine. This will keep the moss attached to your frame. Once you have gone around the entire frame once of twice, tie off and cut your jute twine. 

Now we can start adding the tree trimmings. Cut small manageable pieces (about 6 to 12 inches long) from the larger branches.  Begin adding them around the wreath, sticking the freshly cut ends of the branches into the moss.

DIY Living Christmas Wreath with Succulents via Needles + Leaves

Use floral pins throughout to help keep the branches in place. Hold the wreath upright from time to time so you can see how the branches will fall when hanging. This will help you know where more floral pins are needed.

DIY Living Christmas Wreath with Succulents via Needles + Leaves

Keep adding branches around the wreath until you reach the point where you started.  Make sure to keep layering the branches to give the wreath volume. Continue to add floral pins when necessary. 

Once you have all the tree trimming secure on the wreath you can now start adding the succulents. You can add them where ever you'd like, along the top, spread throughout, or on the side.  We chose to add them along the side.

DIY Living Christmas Wreath with Succulents via Needles + Leaves

Use a pencil or your finger to make a hole for the stem, place the stem into the hole and use floral pins to secure it into place. We tried to keep the roots intact when possible, but if your stem is just too long, you will need to cut the roots off.  If you are using succulent cuttings for your wreath, you will need to use more floral pins to keep them in place until they have time to develop new roots. It usually take a few weeks to a month or so for cuttings to take root.  Keep adding succulents until you have created a design you like.

DIY Living Christmas Wreath with Succulents via Needles + Leaves

Now you a beautiful Christmas wreath! You can give it as a great home made gift or keep it for yourself to enjoy all season long! 

DIY Living Christmas Wreath with Succulents via Needles + Leaves

Living Christmas Wreath Care Instructions:

Remove your wreath from your door or wall and water it with a hose or watering can once a week or at least every two weeks. Leave it horizontal until it has had time to drain a bit and then rehang. Make sure your plants are getting plenty of bright indirect sunlight.

DIY Living Christmas Wreath with Succulents via Needles + Leaves